 This is the seventh part in our series on building a dream home in Lake Tahoe. We’re following builder Peter Stromberg and going through the same steps he is taking, from inception to completion. I’ll be sharing pictures, tips and pointers so you can see what is involved and the beautiful outcome you can have when building your dream home!
Steps of Building a Home in Lake Tahoe
Step 1: This was covered in a previous article and I talked of locating the perfect lot. Once Peter had bought the lot in Montgomery Estates he started the permitting process.
Step 2: I covered the permitting process. It took Peter a bit longer in this stage than planned, but all moved forward.
Step 3: The house is being built on a uphill slope. I covered what was involved with pre-grade, TRPA site inspections and excavation.
Step 4: Once the foundation is completed a builder can then start the actual construction of a home.
Step 5: We put in the slab and framed the house. Now, we’re on to Step 6 which is framing the roof and installing the sheeting.
Step 6: A lot of progress in this step: Peter framed the roof, put up exterior sheeting, did interior framing and installed the windows.
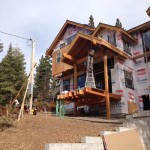
Now we’re ready for the next step, which is building the entrance, and installing the siding and trim.
Electrical work is also being completed now. Recessed lights are being installed in the interior and exterior, and all the lighting is low wattage LED – a great way to save on energy costs. The lights under the front deck will actually be connected to a timer in the driveway so they’ll turn on when a car drives up. Same thing for the lights in the entrance and the ones in the backyard. They’ll turn on when motion is detected then start to dim after 5 minutes unless they’re turned on via switch.
Building the Entrance
The grand entrance of this new home is taking shape. Because of the slope, Peter is coming out with the front porch so it will be easy to enter the home.
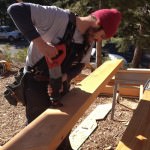
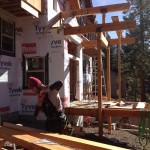

A few photos of progress on the entrance. Pete is building a cut and stack roof since the rafters will be exposed. He’ll also line the entrance ceiling with tongue and groove cedar, which should make a nice impression.
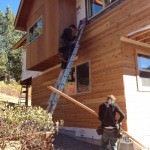
Entrance Roof
Since the rafters of the home are exposed, great care needs to be taken to ensure it is water tight.

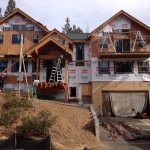
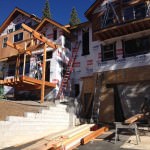
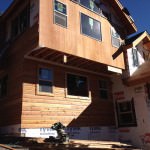
Siding
The mild winter has allowed Peter to complete the siding that might of been delayed until Spring. The hand selected pieces of siding are chosen for their grain and appearance. The wood was cured and then stained in the garage where they were able to dry away from any moisture. This saves time too, so the builder didn’t have to stain the whole house once all of the siding on.

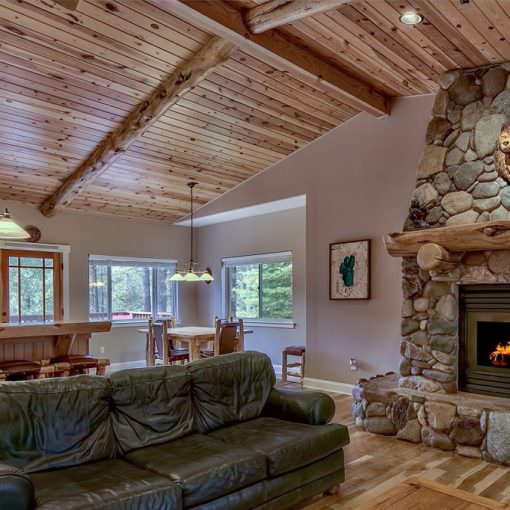
Step #8: Finishing the Interior
